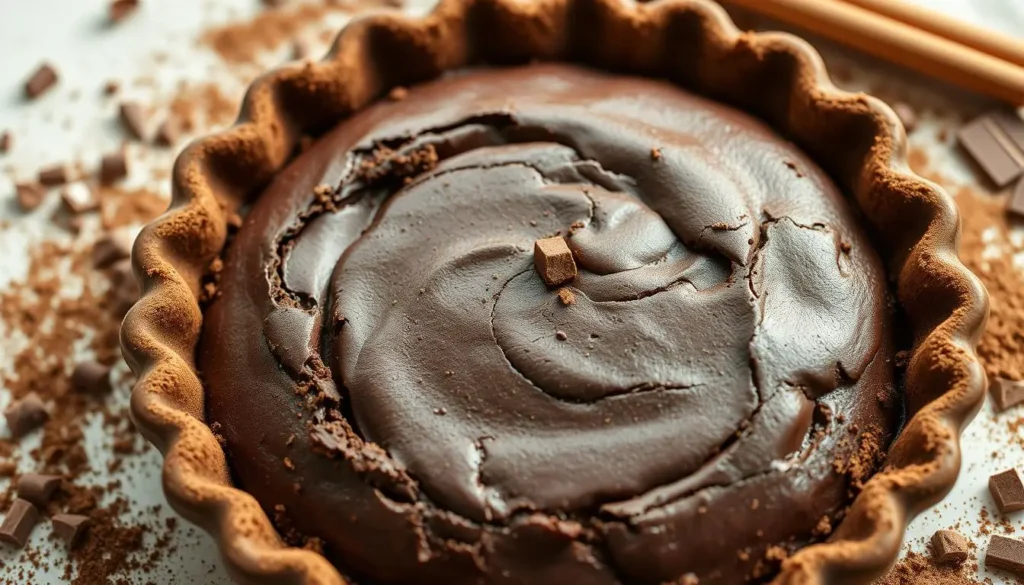
I love chocolate, and I’m always looking for the best chocolate desserts. But a great pie needs a fantastic crust. That’s why I’m excited to share a simple recipe for a homemade chocolate pie crust. It will make your baking better and impress everyone with its rich flavor.
Table of Contents
Why Choose a Homemade Chocolate Pie Crust
The crust is key in making delicious desserts. Homemade chocolate pie crusts have many benefits. They are healthier and let you customize them to your liking.
Health Benefits of Making Your Own Crust
Making your own dessert crusts means you control what goes into them. You can avoid preservatives and unhealthy fats found in store-bought pastry dough. This makes your buttery pie shells healthier and tastier.
Cost Comparison: Store-bought vs. Homemade
Homemade chocolate pie crusts can save you money in the long run. Although making them takes time and effort, the savings are worth it. Plus, homemade crusts are of higher quality and more versatile.
Customization Possibilities
One big plus of making your own crust is the ability to customize it. You can adjust the sweetness and add unique flavors. This lets you create a dessert that’s truly yours.

“The beauty of a homemade crust is that you can experiment with different flavors and textures to create a truly personalized dessert experience.”
Essential Ingredients for the Perfect Chocolate Pie Crust
Making a delicious chocolate pie crust is about getting the right mix of ingredients. Whether you’re preparing traditional baked goods or experimenting with graham cracker or Oreo cookie crusts, understanding the role of each ingredient is essential. It ensures you achieve the ideal texture and flavor.
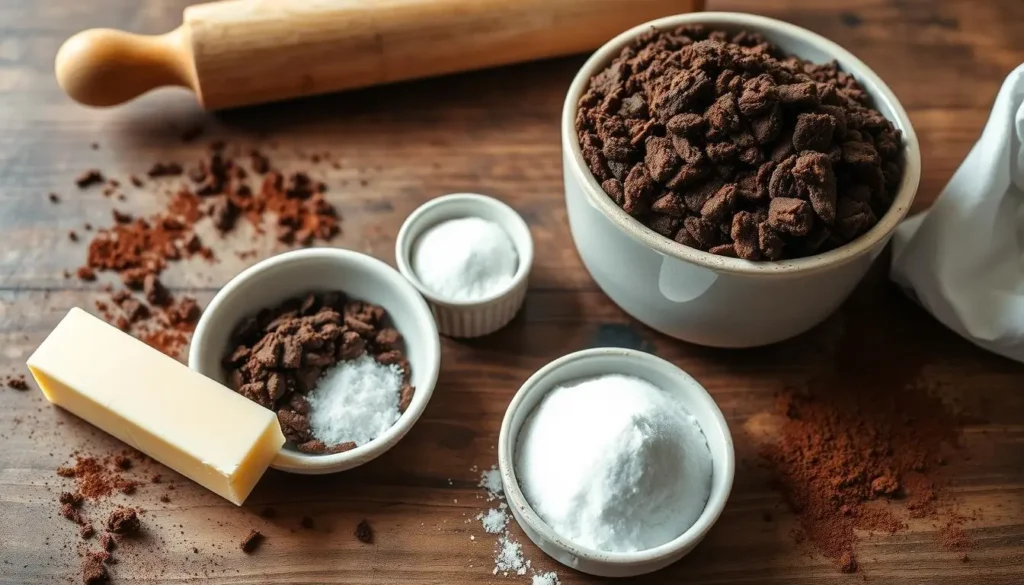
Cocoa powder is at the core of a chocolate pie crust. It brings a deep, rich flavor. Adjusting the amount of cocoa powder can change how strong the chocolate taste is. So, it’s up to you to decide how intense you like it.
- Cocoa powder: Provides the signature chocolate flavor.
- Butter: Helps create a tender, flaky crust and binds the ingredients together.
- Sugar: Adds sweetness and contributes to the crust’s structure.
- Salt: Helps balance the sweetness and amplifies the other flavors.
Want to try something different? Use crushed graham crackers or Oreo cookies instead of flour. These add their own unique tastes and make the crust more crumbly and indulgent.
“The key to a perfect chocolate pie crust lies in finding the right balance of ingredients to achieve the desired flavor and texture.”
Playing with the amounts of these key ingredients is part of the fun. Start with a basic recipe and then make it your own. Adjust it to match your taste and preferences.

Kitchen Tools You’ll Need for Success
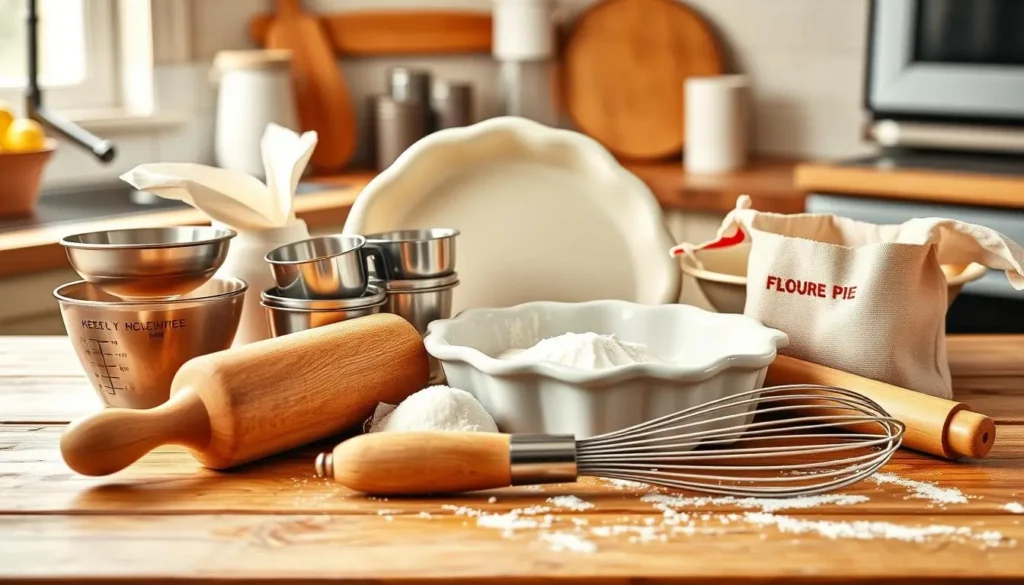
To bake the perfect homemade chocolate pie crust, you need some key tools. Learn about the must-have utensils, optional gadgets, and the importance of accurate measuring. This will help you get consistent results.
Must-Have Utensils
- A sturdy rolling pin to evenly flatten the dough
- A sharp knife or pizza cutter for trimming the excess crust
- A fork for pricking holes in the dough to prevent bubbling
- Mixing bowls in various sizes for preparing the ingredients
- A rubber spatula or wooden spoon for blending the dough
Optional but Helpful Equipment
These tools are not essential but can make preparing the pie crust easier:
- A food processor for quickly combining the dough ingredients
- A pastry cutter or dough blender to cut in the fat
- A pastry mat or silicone baking mat for rolling out the dough
- Pie weights or dried beans to stop the crust from rising.
Measuring Tools Guide
Getting the measurements right is crucial for a perfect pie crust. Make sure you have these tools:
- Dry measuring cups for flour, sugar, and other dry ingredients
- Liquid measuring cups for melted butter, water, and other wet ingredients
- A set of measuring spoons for smaller amounts of spices, salt, and baking soda
With the right tools and equipment, you’ll be well on your way to baking a delicious, flawless chocolate pie crust from scratch.

Step-by-Step Chocolate Pie Crust Preparation
Making a tasty chocolate pie crust at home is simple. Just follow a few easy steps to make a perfect homemade crust. This will elevate your baking to a whole new level. Let’s go through the steps to make sure your crust turns out great.
Gather Your Ingredients
First, gather all the ingredients you need. For a classic crust, you’ll need flour, cocoa powder, sugar, salt, and cold butter or shortening. Make sure to measure everything accurately for the right texture.
Mix the Dough
In a big bowl, mix together flour, cocoa powder, sugar, and salt. Use a pastry cutter or forks to cut in the cold butter or shortening until it looks like coarse crumbs. Then, add ice-cold water slowly, mixing until the dough forms. Be careful not to mix too much.
Roll Out the Dough
Flour your work surface and rolling pin lightly. Roll the dough into a circle, a bit bigger than your pie dish. Place the dough in the pie dish, pressing it into the bottom and sides.
Chill the Crust
Put the dough in the pie dish in the fridge for at least 30 minutes. This step helps the crust keep its shape while baking and prevents it from shrinking.
Blind Bake the Crust
Preheat your oven as your pie recipe suggests. Put parchment paper or foil in the crust and fill it with pie weights or dried beans. Bake for 15-20 minutes, then remove the weights and liner. Bake for another 5-10 minutes until the crust is dry and set.
Follow these steps to make a delicious homemade chocolate pie crust. Remember to handle the dough gently and use cold ingredients for the best results. Happy baking!
Tips for Achieving the Perfect Texture
Making the perfect texture for your homemade chocolate pie crust is essential. It’s all about temperature control and how you handle and roll the dough. With these skills, your pie baking tips will turn into a culinary masterpiece.
Temperature Control Secrets
The temperature of your ingredients and work surface is crucial. Keep your butter cold and work in a cool place. This prevents the dough from getting too soft and sticky.
Slowly mix the butter into the dry ingredients. Keep the mixture cool and flaky.
Handling and Rolling Techniques
- Be gentle with the dough. Avoid kneading too much to prevent a tough crust.
- Roll the dough on a floured surface with a light touch. This helps create a thin, even layer.
- Rotate and flip the dough often. This ensures even thickness and prevents sticking.
Common Texture Problems and Solutions
| Problem | Solution |
| Dry, crumbly crust | Add a tablespoon or two of ice water to the dough and work it in gently until it just begins to hold together. |
| Tough, chewy crust | Minimize handling and kneading of the dough, and make sure to roll it out evenly. |
| Soggy bottom crust | Blind bake the crust before adding the filling, and consider using a parbaked crust for extra protection. |
Mastering temperature control, handling, and solving common problems will help you achieve the perfect pie baking tips and buttery pie shells. Your taste buds and guests will love it.
Variations of Chocolate Pie Crust
There’s more to chocolate pie crust than meets the eye. From graham cracker to Oreo cookie crust, each offers a unique taste and texture. These alternatives can take your desserts to the next level.
Graham Cracker Crust
The graham cracker crust is a favorite for its nutty and crunchy feel. It’s made by using crushed graham crackers instead of chocolate cookies. This creates a perfect balance between the chocolate filling and the graham cracker shell.
Oreo Cookie Crust
The Oreo cookie crust is for those who love a rich, indulgent treat. It’s made by blending Oreo cookies into a crumb and mixing with melted butter. This crust adds a creamy Oreo flavor to your chocolate pie.
These dessert crusts let you get creative with your chocolate pie. Try different cookies or crackers, or add spices and nuts for extra flavor. The most important thing is to enjoy yourself and express your creativity.
| Crust Type | Flavor Profile | Texture |
| Graham Cracker Crust | Subtly sweet, nutty | Crunchy |
| Oreo Cookie Crust | Rich, creamy, chocolatey | Smooth, dense |
Discover the perfect dessert crust for your chocolate pie. Whether it’s the classic graham cracker or the decadent Oreo, there’s a world of flavors waiting to be explored.
Storage and Make-Ahead Instructions
Keeping your homemade chocolate pie crust fresh is key to baking success. Whether you’re making crusts ahead of time or have extra dough, knowing how to store and thaw it can make pie-making easier.
Freezing Guidelines
Homemade crusts can be frozen for up to 3 months. This is great for busy bakers. To freeze, roll the dough into a disk, wrap it tightly in plastic wrap or aluminum foil, and put it in a resealable freezer bag. When you’re ready to use it, thaw the crust in the fridge overnight before baking.
Thawing Methods
- Refrigerator Thaw: Put the frozen crust in the fridge and let it thaw slowly over 12-24 hours. This slow thaw helps keep the crust’s texture and prevents it from cracking.
- Counter Thaw: For a faster thaw, leave the wrapped crust at room temperature for 2-4 hours, or until it’s soft enough to roll.
- Microwave Thaw: If you’re in a hurry, you can thaw the crust in the microwave. But be careful not to overheat it. Use 50% power and thaw in 30-second intervals, checking the dough often.
Proper storage and thawing of your homemade chocolate pie crust ensures you can enjoy its rich, flaky texture whenever you want.
Troubleshooting Common Issues
Baking the perfect chocolate pie crust is a fun challenge. But, sometimes, unexpected problems can pop up. Don’t worry, we’ve got solutions for common issues.
One big problem is a crumbly, dry dough. To fix this, add a tablespoon or two of ice-cold water. Then, gently knead until it’s smooth. Avoid overworking the dough to prevent this issue.
Another issue is a crust that shrinks or pulls away from the pie dish. To avoid this, chill the dough well before rolling it out. Blind-bake the crust for 10-15 minutes before adding your filling. This helps it keep its shape.
- Dealing with a crumbly, dry dough? Add a tablespoon or two of ice-cold water and gently knead until smooth.
- Prevent your crust from shrinking by chilling the dough well before rolling and blind-baking it before adding the filling.
- Struggling with a soggy bottom crust? Bake the empty shell for 10-15 minutes, then fill and continue baking until set.
- Cracks or holes in your crust? Patch them with leftover dough before blind-baking to ensure a seamless, professional-looking finish.
By tackling these common problems, you’ll make a top-notch chocolate pie crust. It will look great and taste amazing. Happy baking!
Perfect Filling Combinations
Creating delicious desserts with a homemade chocolate pie crust is endless. You can mix classic flavors with new ones. The right filling can make your dish stand out, especially during the holidays.
Classic Pairings
For a classic treat, fill your chocolate pie crust with chocolate mousse or a creamy custard. These pairings are always a hit and satisfy any sweet craving. The smooth textures of these fillings match the crust’s buttery, chocolatey taste perfectly.
Modern Flavor Combinations
Want to try something new? Mix your chocolate dessert crusts with unexpected flavors. Try a coffee-infused filling for a mocha twist. Or, add a zesty lemon curd or tart raspberry compote for freshness. These combinations offer a delightful contrast to the rich chocolate crust, making your holiday desserts unforgettable.
Choosing the right filling is key. Let the flavors of your homemade chocolate pie crust be the star. With creativity and the right mix, you’ll impress everyone with your dessert skills.
Decorative Edges and Finishing Touches
Making your homemade chocolate pie crust look great is fun. You can use fancy crimping or add chocolate shavings. These touches make your pie look elegant and tasty.
Crimping the crust edges is a classic move. You can use your fingers or a fork. It makes the pie look nice and keeps the filling inside. Try different patterns to match your taste.
Adding chocolate shavings on top is a great idea. Use a peeler to get thin chocolate pieces. Arrange them in a design that catches the eye. It’s a tasty and pretty touch.
Want to get creative? Try chocolate drizzle, edible flowers, or cocoa powder. These extras make your pie crust stand out.
Remember, the fun part is being creative. Try new things and don’t worry about mess. Your chocolate pie will look amazing.
Decorative Crimping Techniques
- Traditional Pinched Edges: Gently pinch the dough between your thumb and forefinger, creating a decorative scalloped pattern.
- Fork Crimping: Use the tines of a fork to press into the dough, creating a neat and uniform pattern.
- Twisted Edges: Gently twist the dough over itself, creating a beautiful and intricate design.
Chocolate Shavings and Curls
- Use a vegetable peeler to create thin, delicate chocolate shavings.
- For chocolate curls, use a sharp knife or chocolate curler to create long, elegant ribbons of chocolate.
- Arrange the chocolate shavings or curls in a visually appealing pattern on top of your pie.
Remember, the key to achieving the perfect decorative edges and finishing touches is to have fun and unleash your creativity. Experiment with different techniques and don’t be afraid to get a little messy – the end result will be a truly stunning and irresistible chocolate pie.
Conclusion
Making a tasty chocolate pie crust from scratch is a fun and rewarding task. By following the steps in this guide, you can make a crust that makes your pies even better. It also lets you try new things and make your pies your own.
Whether you like the classic taste or want to try something new, making your own homemade crusts opens up endless possibilities. Enjoy the process of making your dough, getting it just right, and showing off your baking skills with a pie that’s uniquely yours.
Keep exploring new baking recipes and try different chocolate pie crusts. Share your pies with loved ones and ask for their thoughts. It’s a great way to get better at baking and find new flavors that you’ll love.
FAQ
What are the health benefits of making your own chocolate pie crust?
Making your own chocolate pie crust lets you control what goes into it. This means you can avoid preservatives and additives found in store-bought ones. Plus, you can tailor the ingredients to fit your dietary needs or preferences, making it a healthier choice.
How does the cost of a homemade chocolate pie crust compare to a store-bought one?
Making your own chocolate pie crust is often cheaper than buying one. The ingredients are simple and affordable. Plus, you can make several crusts at once, which can save you money over time.
What are the customization possibilities with a homemade chocolate pie crust?
Homemade crusts offer endless possibilities. You can try different chocolates, add spices or flavors, or mix in ingredients like graham crackers or Oreo cookies. This lets you create unique taste experiences.
What are the essential ingredients for a perfect chocolate pie crust?
For a delicious chocolate pie crust, you’ll need flour, cocoa powder, sugar, butter, and salt. You can adjust the amounts to get the flavor and texture you want.
What kitchen tools are needed to make a homemade chocolate pie crust?
You’ll need a mixing bowl, a pastry cutter or fork, a rolling pin, and a pie dish. Tools like a food processor, measuring set, and crimping tool can also be helpful for decorating the edges.
How can I achieve the perfect texture for my chocolate pie crust?
To get the right texture, control the dough’s temperature and handle it gently. Make sure the dough is at the right temperature and roll it carefully. If you face issues like a crumbly or shrinking crust, there are solutions to fix these problems.
Can I make a chocolate pie crust ahead of time and store it?
Yes, you can make your chocolate pie crust ahead of time. Freezing the dough or a pre-baked crust is a great way to save time. Just thaw it properly to keep the texture and flavor intact.
How can I troubleshoot common issues with my chocolate pie crust?
If your dough is crumbly, your crust is shrinking, or it’s not baking evenly, there are fixes. By identifying the problem and adjusting your method, you can achieve better results.
What are some classic and modern flavor combinations that pair well with a chocolate pie crust?
Classic choices include chocolate mousse, cream pies, and fruit fillings. For something new, try salted caramel, peanut butter, or seasonal ingredients like pumpkin or mint.
How can I make my chocolate pie crust visually appealing with decorative edges and finishing touches?
Use different crimping techniques to add interest to your crust. You can also top it with chocolate shavings, cocoa powder, or other decorations. This will make your pie look professional and appealing.

